About Lesson
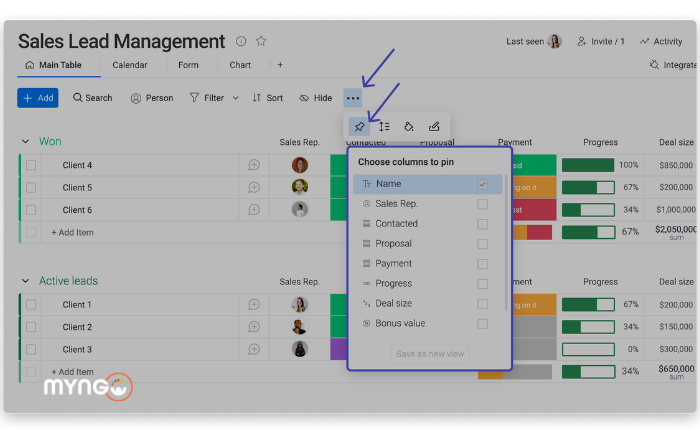
In this lesson, we’ll explore how to customize columns and views in Monday.com to adapt the platform to your unique project requirements. Let’s dive into the step-by-step process:
-
Custom Columns
- Start by identifying the specific data points you want to track for your project. Then, create custom columns in Monday.com to capture this information. To do this, click on the ‘+’ icon beside the last column in your board, select ‘Column Center,’ and choose the type of column that best fits your data, such as a text column, number column, or dropdown column.
-
Column Settings
- Once you’ve added custom columns to your board, you can further customize their behavior and appearance by adjusting column settings. Click on the column header to access the column settings menu. Here, you can set default values, configure column permissions, and customize the column’s appearance to match your preferences.
-
Saved Views
- To save a customized view in Monday.com for easy access and sharing, first, configure your board layout and filters to match your desired view. Then, click on the ‘Views’ dropdown menu at the top right corner of your board and select ‘Save current view as…’. Give your view a descriptive name and click ‘Save.’ You can now access this saved view anytime from the ‘Views’ dropdown menu.
-
Advanced Filters
- Advanced filters in Monday.com allow you to focus on specific subsets of data within your board. To use advanced filters, click on the ‘Filter’ icon at the top right corner of your board. Here, you can set multiple filter conditions based on various criteria, such as status, assignee, or date range, to refine your data and extract valuable insights.