Unleash Creativity and Collaboration with Miro: A Guide to What It Is and How to Use It
In the digital age, effective collaboration and visualization tools have become essential for individuals and teams to work seamlessly across distances. Miro, a dynamic online collaborative platform, is at the forefront of this transformation. This article provides an overview of what Miro is and offers a step-by-step guide on how to use this versatile tool to foster creativity, teamwork, and innovation.
What is Miro?
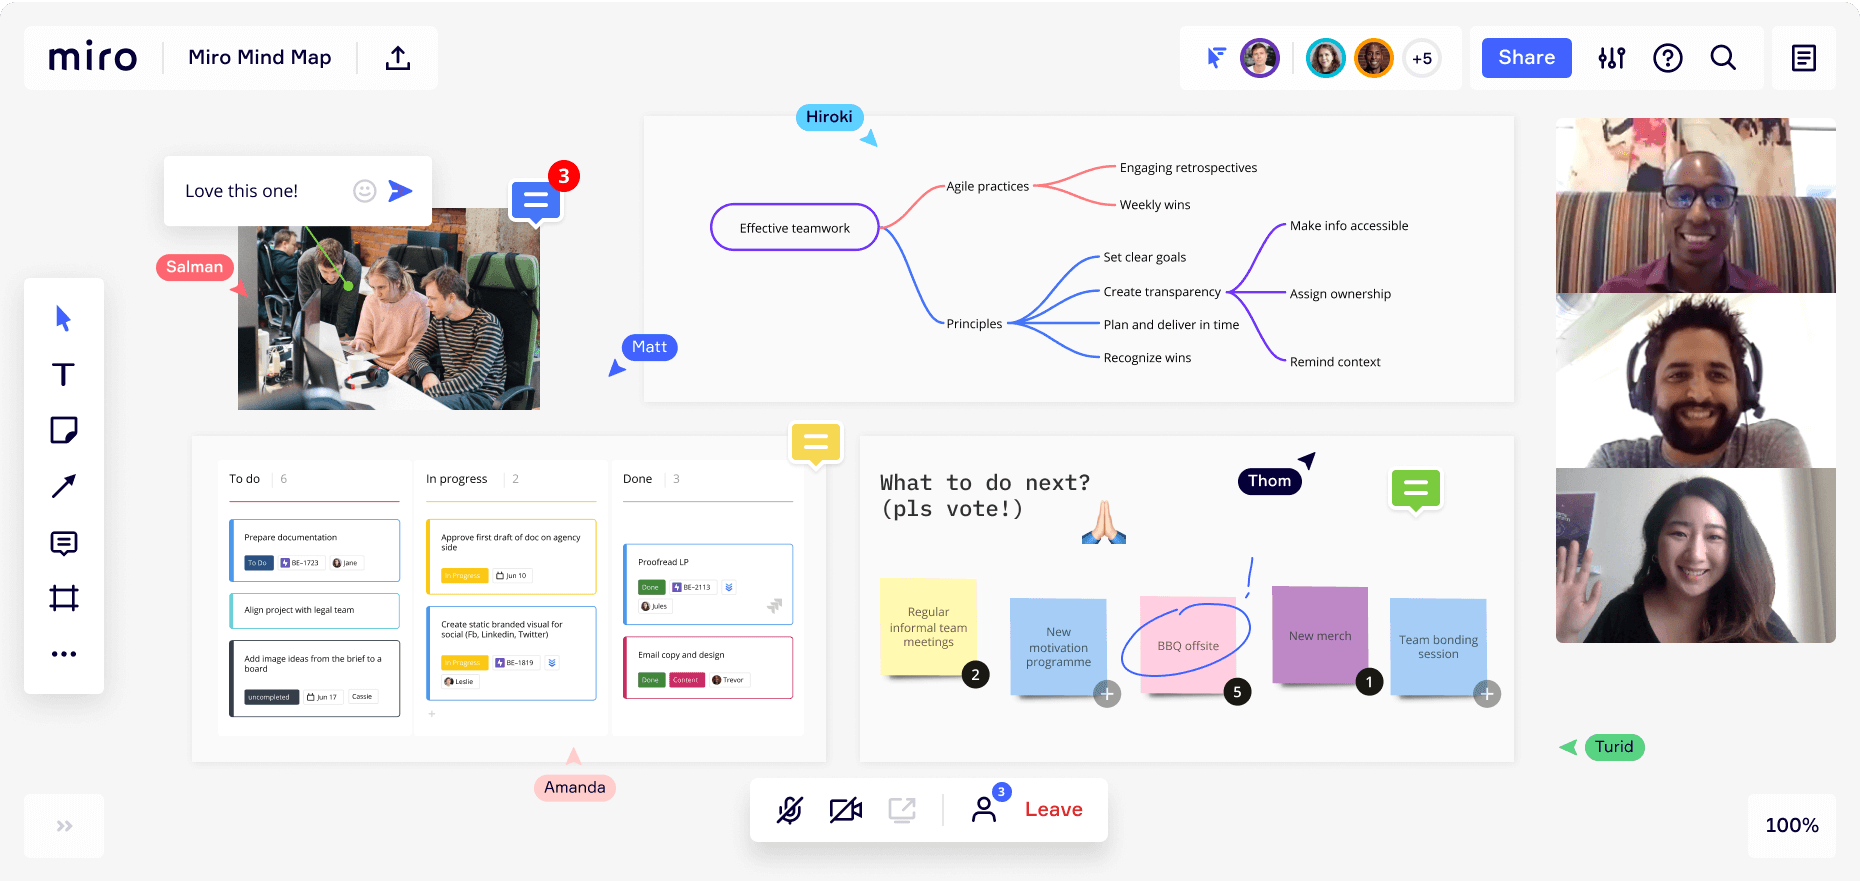
Miro is a visual collaboration platform designed to facilitate real-time collaboration, brainstorming, and idea-sharing among teams and individuals. It offers a digital canvas where users can create, visualize, and organize ideas, concepts, and projects. Miro’s intuitive interface combines the flexibility of a whiteboard with powerful features that make it ideal for a wide range of applications, from project planning and design thinking to remote team collaboration.

Getting Started: How to Use Miro
- Sign Up and Log In: To begin using Miro, visit the Miro website and sign up for an account. Once registered, log in to access your dashboard.
- Create a Board: In Miro, each project is represented as a “board.” To start, create a new board and give it a meaningful title that reflects the project’s purpose.
- Navigate the Interface: Miro’s interface is designed to be user-friendly. Familiarize yourself with the tools available, including sticky notes, shapes, text boxes, and connectors.
- Add Content: Begin by adding content to your board. You can use sticky notes to jot down ideas, drag and drop images, and use shapes to illustrate concepts. Miro also supports importing content from other platforms like Google Drive.
- Collaborate in Real Time: Invite team members to your board by sharing a link or sending invitations. Everyone can contribute simultaneously, making Miro ideal for remote collaboration.
- Brainstorming and Ideation: Use Miro’s digital canvas to facilitate brainstorming sessions. Create sticky notes, move them around, and group related ideas together. Collaborators can vote on their favorite concepts.
- Design Thinking and Workshops: Miro supports design thinking workshops with features like templates for empathy maps, user journey maps, and mind maps. These tools help teams visualize complex processes and ideate solutions.
- Project Planning and Mapping: Plan projects using Miro’s templates for Gantt charts, roadmaps, and timelines. Visualize project milestones, dependencies, and deadlines for effective project management.
- Wireframing and Prototyping: Designers can use Miro to create wireframes and prototypes. Collaborators can add comments and annotations directly on the canvas for feedback and refinement.
- Presentations and Remote Meetings: Use Miro to conduct interactive presentations and remote meetings. Move through the canvas to showcase different sections and engage participants in real-time.
- Export and Share: Once your board is complete, you can export it as a PDF, image, or other formats to share with stakeholders who may not have Miro accounts.
Tips for Effective Miro Use:
- Use Templates: Miro offers a variety of templates to jump-start your projects, from SWOT analysis to Kanban boards.
- Utilize Integrations: Miro integrates with other popular tools like Slack, Microsoft Teams, and Jira, enhancing your workflow.
- Keep it Organized: Use frames to group related content, and take advantage of Miro’s zoom and pan features to navigate large boards.
Conclusion
Miro has emerged as a powerful platform for modern collaboration, bringing teams together regardless of geographical boundaries. From brainstorming to project planning, Miro’s dynamic canvas and robust features provide a versatile environment for creativity and ideation. By following this guide, you can unlock the full potential of Miro, transforming your ideas into visual masterpieces and fostering a culture of collaboration that leads to innovative solutions and successful projects.


